homeschool architecture curriculum

Welcome to Our Homeschool Architecture Curriculum: Hands-On Architecture

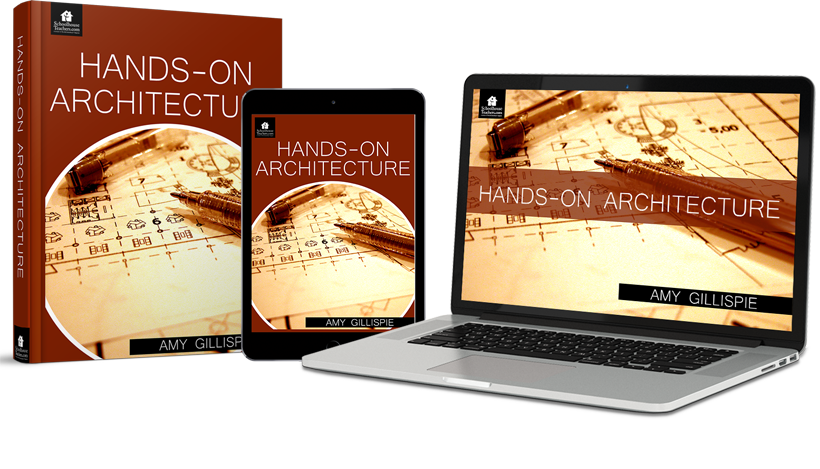
What do marshmallows, string, paper clips, and cheese spread have to do with architecture? These are just a few of the materials used in Hands-On Architecture to teach third through seventh graders about structures. Following step-by-step instructions and photo examples, students learn about points, lines, planes, shapes, and more, as they experiment using everyday objects. They will even design a house and a zoo!

External links may be included within the course content; they do not constitute an endorsement or an approval by SchoolhouseTeachers.com of any of the products, services, or opinions of the corporation, organization, or individual. Contact the external site for answers to questions regarding its content. Parents may wish to preview all links because third-party websites include ads that may change over time. 


Para traducir cualquier página web, haz clic en los tres puntos o líneas en la esquina superior derecha de tu navegador, o haz clic aquí para más información.

Hands-On Architecture

Length: 27 weeks
Content type: Text based
Grades: 3–7

PRINT CERTIFICATE OF COMPLETION

Related Classes You May Enjoy

All Electives Classes
Preschool - Elementary Electives Classes

Are you enjoying this course? Why not tell your friends about it? Become an affiliate, share your personal link and graphics with your friends, and earn money.
We love hearing from our members as to what classes they or their students enjoyed. Please share some feedback with us so we can make this the best homeschooling curriculum site ever!

Getting Started with Hands-On Architecture, Our Homeschool Architecture Curriculum

This homeschool architecture curriculum is a series of three units (Unit 1-Structures; Unit 2-Homes; Unit 3-Zoos). Each Hands-On Architecture unit contains nine homeschool elective lessons that include suggested projects.

Printing the Step-by-Step Photos/Teacher Examples and Student Projects is optional; homeschool students may simply view them on the computer. Parents may want to consider not showing Mrs. G.’s student examples to their children until they try their hand at it first. That way, the homeschool student can explore individual ideas; but parents know their children best!

Overview

  • 27 weeks
  • Includes printable lessons, assignments, photos of finished projects, and links to additional information
  • Grades: 3–7

Supplies Needed

Corresponding lessons on SchoolhouseTeachers.com; journal for notetaking and research.

What to Do

Go to Class Lessons and download the lesson plan and lessons file. Start with the Day 1 reading assignment. Follow the instructions each day on the lesson plan and check them off when completed.

Close

Course Sample for Hands-On Architecture, Our Homeschool Architecture Curriculum

To view a full sample of this course, click here.


Hands-On Architecture Lecture and Assignment
Lesson 3 – Planes


Hi Students,

So, we’ve covered points and lines. Now it is time to think about planes. What are planes? Let’s review. A point is a specific place in space (or the intersection of two lines). A line is an extended point that goes forever in opposite directions (or the intersection of two planes). A line segment is what we typically see and use, part of a line stopped by a point at either end.

Did you just ask what a plane is? A plane is an extended line. Now the line that you saw before is stretched to form something like a flat rectangle or a piece of paper. A plane can be very thin or thick depending upon how you are using it. Imagine a flat surface (a plane) going off in all directions cutting through the universe. Pretty amazing, especially when you think about more than one plane going in more than one direction at the same time. We will be using planes cut off by line segments.

Close

Course Outline for Hands-On Architecture, Our Homeschool Architecture Curriculum

Three homeschool architecture curriculum units each contain nine printable lessons, along with step-by-step photos where needed and samples of other students’ designs.

Unit One: Structures

  • Lesson One: The Point
  • Lesson Two: Lines
  • Lesson Three: Planes
  • Lesson Four: Volumes
  • Lesson Five: Plans, Sections, and Elevations
  • Lesson Six: Shapes in Architecture
  • Lesson Seven: Wood
  • Lesson Eight: Building with Food
  • Lesson Nine: Putting It All Together
  • Bonus Lesson: Additional Project Ideas

Unit Two: Homes

  • Lesson One: Getting Started/Kitchen and Dining Area
  • Lesson Two: The Family Room
  • Lesson Three: The Entrance Space
  • Lesson Four: The Schoolroom/Office
  • Lesson Five: Bathrooms/Laundry Room
  • Lesson Six: Bedrooms
  • Lesson Seven: Front and Back Yard Designs
  • Lesson Eight: What’s Next?
  • Lesson Nine: The Last Step

Unit Three: Design Your Own Zoo

  • Lesson One: Entrance
  • Lesson Two: Australian Habitat
  • Lesson Three: Asian Habitat
  • Lesson Four: Antarctica Habitat
  • Lesson Five: European Habitat
  • Lesson Six: African Habitat
  • Lesson Seven: South American Habitat
  • Lesson Eight: North American Habitat
  • Lesson Nine: Final Project

Close

More About Hands-On Architecture, Our Homeschool Architecture Curriculum

This homeschool architecture curriculum, taught by Amy Gillispie (Mrs. G.), provides step-by-step architecture lessons in many different mediums for the lower elementary through middle school homeschool student. The nine homeschool elective lessons within each Hands-On Architecture unit need to be followed in sequence. After finishing the first unit, the second and third may be taken in any order.

Hands-On-Architecture Unit 1 introduces homeschool students to exciting, easy-to-find materials they can use to make fun architectural structures. Unit 1 includes three downloads: Lessons 1-10 (9 weeks and a bonus project), Step-by-Step Lesson Photos, and Student Projects.

Hands-On-Architecture Unit 2 leads the student through the design of their own HOME in nine lessons. Unit 2 includes three downloads: Lessons 1-9, Teacher Examples, and Student Projects. Each student may use the materials from the first course or a medium of their choice. Minecraft, SketchUp, poster board, clay, and plastic building bricks are some materials that have been used in the past.

Hands-On-Architecture Unit 3 leads students through the design of a ZOO!  Unit 3 includes two downloads: Lessons 1-9 and Student Work. The student may use a medium of their choice to model their zoo.

Close

Quick Start

1.  Bookmark the course for easy access during instruction.

2. Click “View Lesson Plan” and organize as desired (on computer desktop or in a printed format). 

3.  Gather necessary resources as listed in the lesson plan.

4.  Click “Go to Class Lessons” and get started.

5.  Enjoy the course!

6.  Utilize Applecore or your own record keeping system throughout the course.

7.  Print a certificate of completion.

Need help? Check out our tutorials or click the live chat box in the corner of your screen.

Close