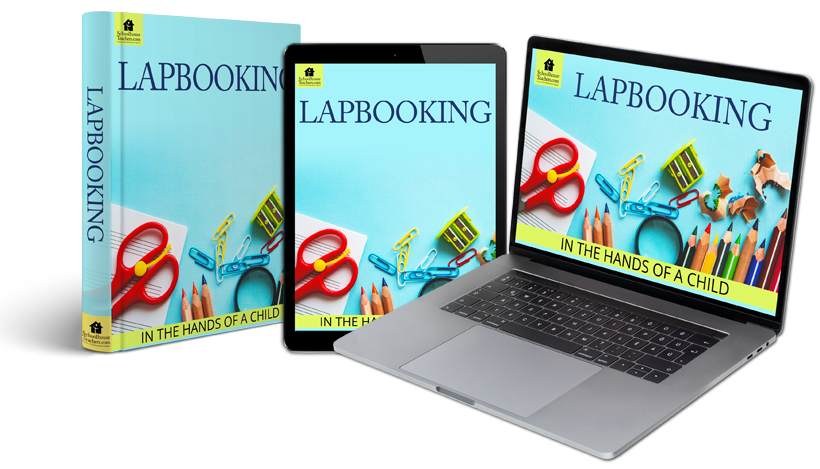
More about Our Homeschool Language Arts Lapbooking Course
Printing and cutting out templates before beginning with this homeschool language arts study is recommended. Some children, even older ones, may need assistance getting the cutting done, and that’s okay! Not every child enjoys cutting things out.
Once all the lapbooking templates are cut out, they are simple to store. Snip off a small bit of a corner from a zip-top plastic bag and drop the templates inside. Now the baggie can be stored flat and with the air out. Store the baggies in a drawer or the pocket of a binder. Make a bag for each homeschool student doing this study and write their names on them in permanent marker.
Gather supplies:
- File folders
- Scissors
- Colored printer paper
- Brads
- A stapler
- An adhesive such as glue or double-stick tape
- Coloring tools (crayons, colored pencils, markers)
- Pen or pencil
Please keep in mind that there is no right or wrong way to put a lapbook together. One student may want to put it together as they go along. Another may want to wait until the study is complete and then put the lapbook together at the end. Either way is perfectly fine!
Layout of the templates in the lapbook should be left up to the homeschool student. Not only is this a part of the creative process, but it also encourages a child to use critical-thinking skills!
One question often asked is, “How can I adapt a lapbook when working with children of varying ages and skill levels?” Adapting a homeschool lapbook for different levels and abilities is key to providing the best lesson for each student. At first glance, some might just skip over an activity because they feel it is too easy or too difficult for their student. However, all the lessons provided are easily adaptable!
For example, the vocabulary activities might be difficult for a PK-3 student to complete. Here are some tips to adapt the activities which require homeschool students to write:
- Transcribe as the student dictates vocabulary words and their meanings.
- Have the child draw a picture instead of write.
- Allow the homeschool student to copy the word or sentence from a model.
- Practice. Practice. Practice. In the car, on a walk, in the shopping cart! Practice saying the vocabulary words and what they mean. It won’t take long for even the preschooler to be telling others what those words mean!
On the other hand, some of the lessons may seem too easy for a particular student. Do them anyway; just change things up a bit to suit the student’s grade level and skills. Here are some tips to adapt the activities to make them more challenging:
- In addition to writing down vocabulary words and their meanings, ask the student to use the word in a sentence, either verbally or written.
- Assign the homeschool student one hour (or any reasonable time frame) to research the topic on their own, either online or at the library.
- Give the student a set of questions to research without guidance.
- Encourage the student to expand on the topic or choose a related subject to learn about.
These are just a few ways to adapt a language arts lapbook to meet the needs of various homeschool students. Let the student be the judge if something is too easy or too difficult . . . the result may be surprising!
For the newer lapbooker, print these instructions for creating a lapbook base.
To get to know In the Hands of a Child better and to get in on unadvertised specials, free goodies, giveaways, and more, check them out on Facebook, “like” their page, and post a little intro. They’d love to “meet” you!


